Maximizing Your Water Heater's Energy Efficiency
Water Heater's Energy Efficiency: A Comprehensive Guide
In today's energy-conscious world, optimizing your water heater's performance is essential for reducing utility bills and minimizing environmental impact. By implementing strategic measures, you can enhance your water heater's efficiency, extend its lifespan, and achieve significant cost savings. This guide provides detailed insights and actionable steps to help you achieve these goals.
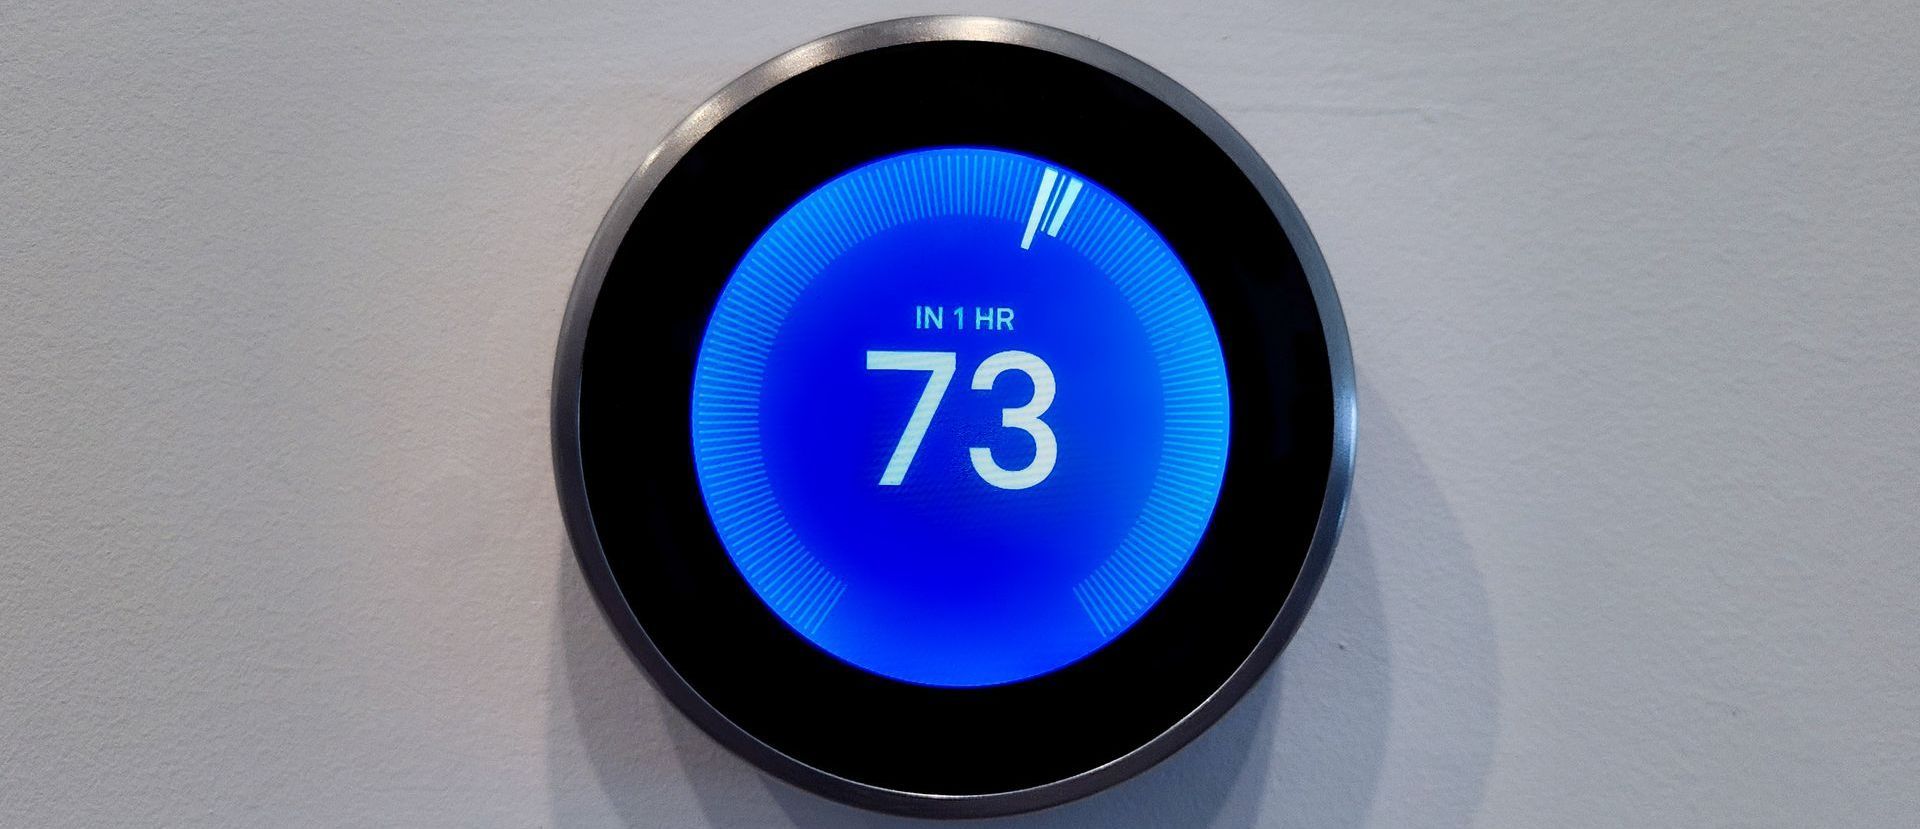
1. Adjust the Thermostat for Optimal Performance
Lowering the Temperature Setting
Many water heaters are preset to 140°F (60°C), a temperature higher than necessary for most household activities. Reducing the thermostat to 120°F (49°C) can decrease energy consumption by 4-8%, translating to substantial annual savings. This adjustment not only conserves energy but also reduces the risk of scalding and slows mineral buildup within the tank.
Step-by-Step Adjustment Process
- Locate the Thermostat: For electric water heaters, thermostats are typically found behind panels on the side of the tank. Gas water heaters usually have a dial near the bottom.
- Turn Off the Power: Before making adjustments, switch off the power supply to prevent accidents.
- Adjust the Temperature: Use a flat-head screwdriver to set the thermostat to 120°F (49°C).
- Restore Power: Turn the power back on and allow the water heater to adjust to the new setting.
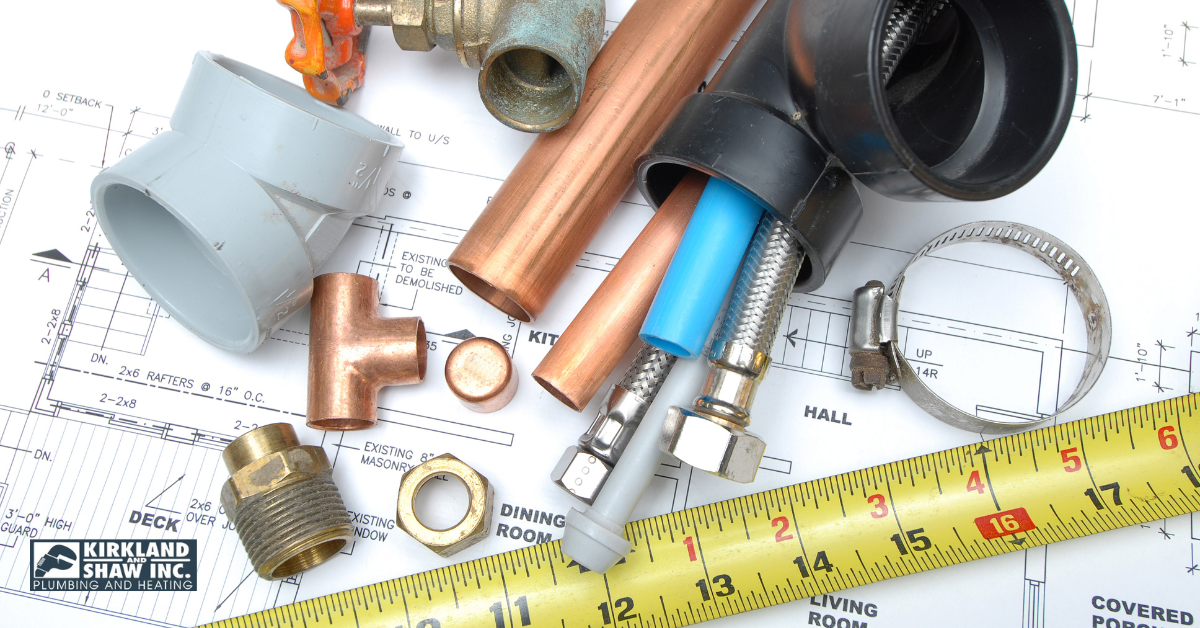
2. Insulate the Water Heater and Pipes
Reducing Heat Loss
Insulating your water heater tank and the first six feet of hot and cold-water pipes minimizes heat loss, maintaining desired water temperatures for longer periods and reducing the unit's workload. This practice can lead to energy savings of 7-16% annually.
Materials Needed
- Water Heater Insulation Blanket: Specifically designed to fit around the tank.
- Pipe Insulation: Foam or fiberglass sleeves suitable for pipe dimensions.
- Tape Measure: For accurate measurements.
- Utility Knife or Scissors: To cut insulation materials to size.
- Protective Gloves and Safety Glasses: For personal safety during installation.
Installation Steps
- Measure the Tank and Pipes: Determine the dimensions to ensure proper fitting of insulation materials.
- Cut the Insulation Blanket: Tailor it to fit around the tank, ensuring access panels and controls remain unobstructed.
- Secure the Blanket: Wrap it around the tank and fasten it with adhesive tape or straps.
- Insulate the Pipes: Place insulation sleeves over the pipes, cutting as necessary to fit around joints and bends.
- Seal the Edges: Use tape to secure the insulation and prevent heat loss.
3. Implement Regular Maintenance Practices
Flushing the Tank to Remove Sediment
Over time, sediment and mineral deposits accumulate at the bottom of the water heater tank, impairing efficiency and potentially causing damage. Draining and flushing the tank annually can prevent these issues.
Procedure
- Turn Off the Water Heater: For electric units, switch off the power at the circuit breaker. For gas units, set the thermostat to the "pilot" position.
- Connect a Hose to the Drain Valve: Place the other end in a suitable drainage area.
- Open the Drain Valve: Allow the tank to empty completely.
- Flush the Tank: Briefly open the cold-water supply to stir up remaining sediment, then drain again.
- Close the Valve and Refill: Once clear water flows, close the drain valve and refill the tank by opening the cold-water supply.
- Restore Power: Turn the water heater back on after the tank is full to prevent damage to heating elements.
Inspecting Anode Rods
The anode rod prevents tank corrosion by attracting corrosive elements. Inspect it every three years and replace it if more than 50% depleted.
4. Install Heat Traps
Preventing Unnecessary Heat Loss
Heat traps are specialized valves or loops of pipe installed on the inlet and outlet connections of the water heater. They allow water to flow into the tank but prevent unwanted convection, where heated water rises and escapes through the plumbing. Installing heat traps can reduce heat loss by up to 60%, leading to noticeable energy savings.
Installation Considerations
- Professional Installation Recommended: While installing heat traps can be a DIY project for those with plumbing experience, hiring a professional ensures proper installation and optimal performance.
- Compatibility: Ensure that the heat traps are compatible with your specific water heater model.
5. Consider Upgrading to a High-Efficiency Water Heater
Evaluating Energy-Efficient Models
If your water heater is over ten years old, upgrading to a newer, energy-efficient model can result in significant savings. Options include:
- Heat Pump Water Heaters (HPWHs): These units can be up to four times more efficient than conventional electric models by transferring heat from the air into the water.
- Tankless Water Heaters: Providing hot water on demand, these systems eliminate standby heat loss associated with storage tanks. They can be up to 34% more energy-efficient for homes that use 41 gallons or less of hot water daily.
Steve's Corner - Kirkland and Shaw Blog